How to Install aaPanel on VPS
aaPanel is a free and easy-to-use hosting control panel. Follow these steps to install it on your server.
1. Connect to Your VPS
If PuTTY is available on your system, open it.
If PuTTY is not installed, download and install it, then open it.
Enter the IP address and connect.
Select the username as "root" and enter your password.
2. Install aaPanel
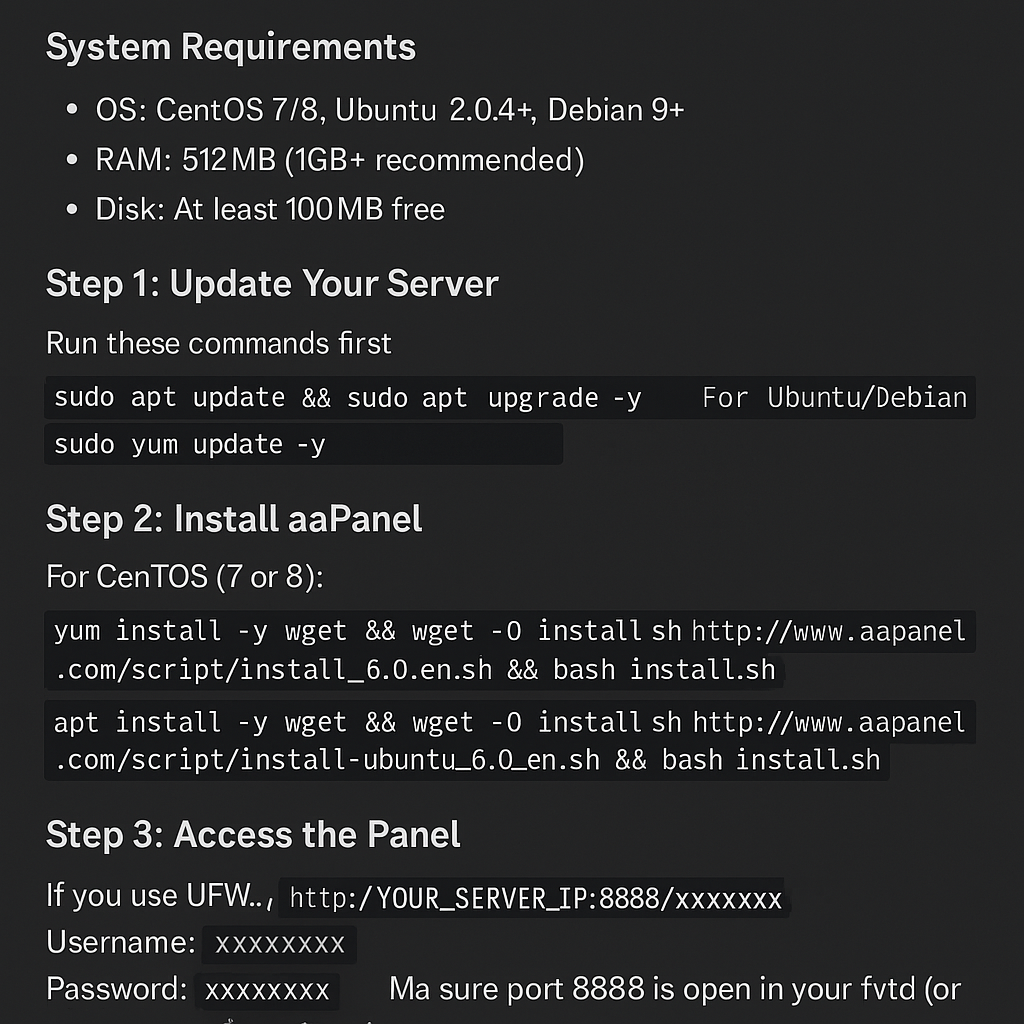
Run the following command based on your OS:
For Ubuntu/Debian:
wget -O install.sh http://www.aapanel.com/script/install-ubuntu_6.0_en.sh && bash install.sh
For CentOS:
wget -O install.sh http://www.aapanel.com/script/install_6.0_en.sh && bash install.sh
3. Access the aaPanel Dashboard
After installation, you will receive a login URL and credentials. Open it in your browser:
http://your-server-ip:8888
4. Install LAMP or LNMP
Choose one of the following web stacks:
- LNMP (Linux, Nginx, MySQL, PHP) - Recommended for speed
- LAMP (Linux, Apache, MySQL, PHP) - Easier for beginners
5. Add a Domain
Go to Website > Add Site and enter your domain name.
6. Install WordPress (Optional)
For a blog, install WordPress:
App Store > WordPress > Install
7. Enable SSL
Secure your website with HTTPS:
Website > SSL > Enable Let's Encrypt
8. Security & Optimization
- Change aaPanel default port (Settings > Change Port)
- Enable Firewall
- Use caching for better performance
Conclusion
Now your aaPanel is set up and ready for hosting websites or blogs!


Comments (0)